Getting Started with disc-o
Welcome to disc-o! This document will describe how to get started using the disc-o software. More detailed instructions for using disc-o-master and each of the disc-o-modules are also available.
1. Launch disc-o-master
Open the disc-o folder. Inside you'll find a number of double-clickable
application icons. Double-click on the disc-o-master application.
2. Accept the default port number
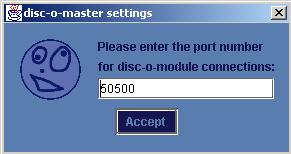
When you launch disc-o-master, you'll see a dialog box asking you for
a port number. For now, just accept the default port number by pressing the "accept" button.
3. Add some discs
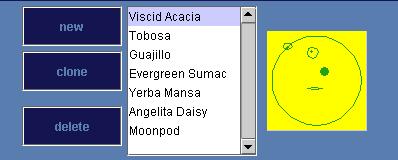
You should now see the basic disc-o-master interface, along with a few discs and walls already on screen. Press the "new" button a couple times to add discs to the pool. They'll start to float around and bounce off the walls and each other.
4. Launch the tracer module
With disc-o-master still running, go back to the folder for your operating system and double click on the tracer module.
5. Accept the default server name and port number
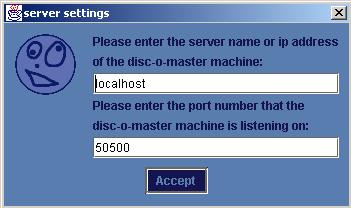
When you launch the tracer module you'll see a dialog box asking you for a server name and a port number to connect to. For now you can just accept the default values by pressing the "accept" button.
That's it!
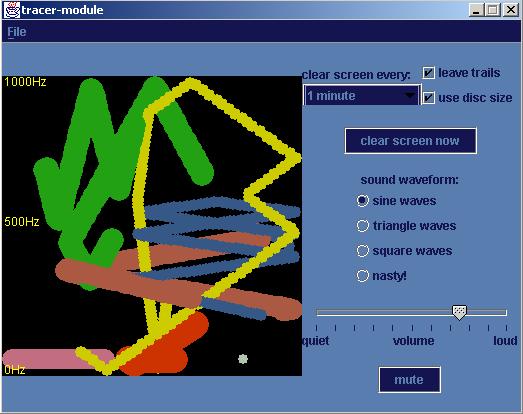
You should now see the tracer module and be able to follow the paths of the discs and hear the sounds change as the discs move. You can run more than one disc-o module at a time. To run another one, just double click on its icon. (You only need to run disc-o-master once.)
Have fun!
For more information on setting up disc-o-master to work over a network,
read this networking guide.