MEAPbook version 1.2 photos
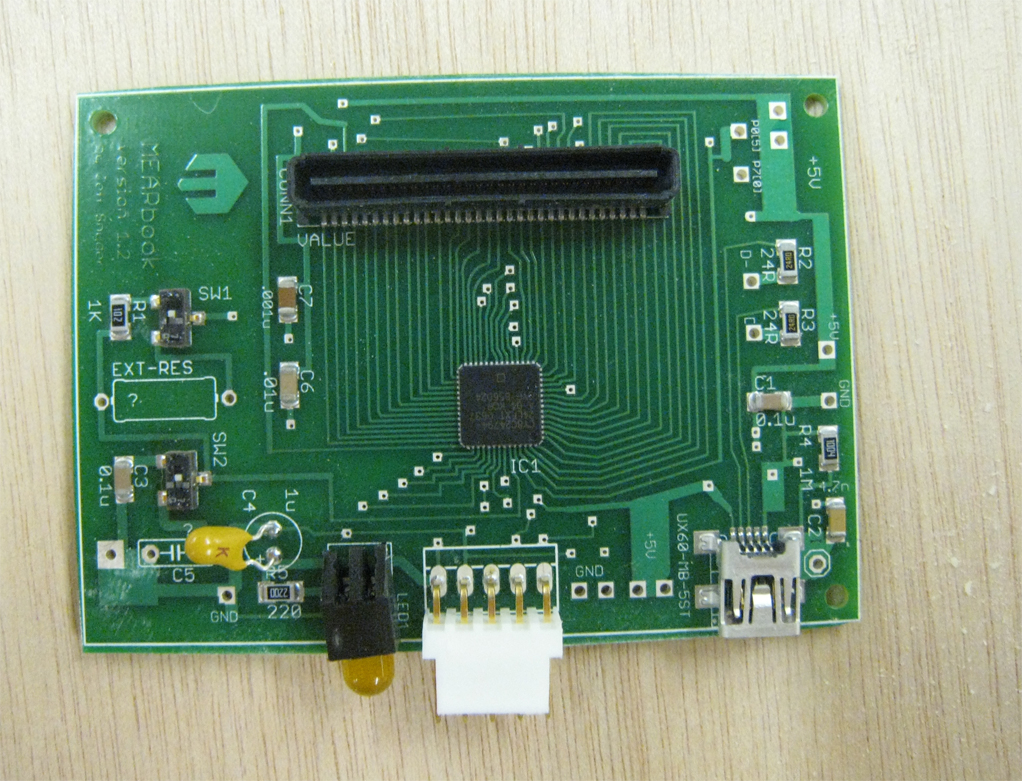
the control circuit
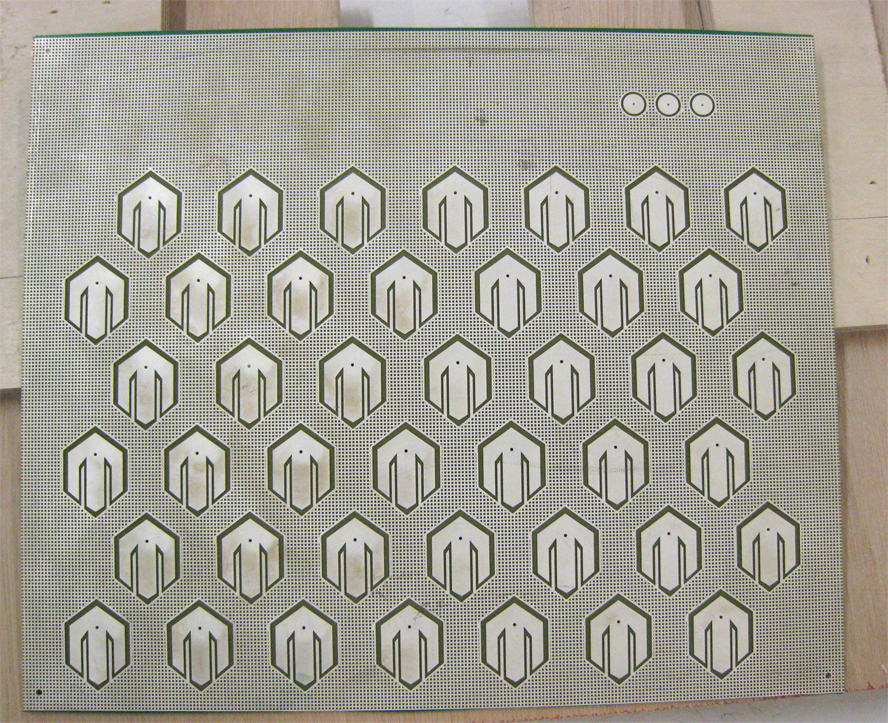
the sensor panel
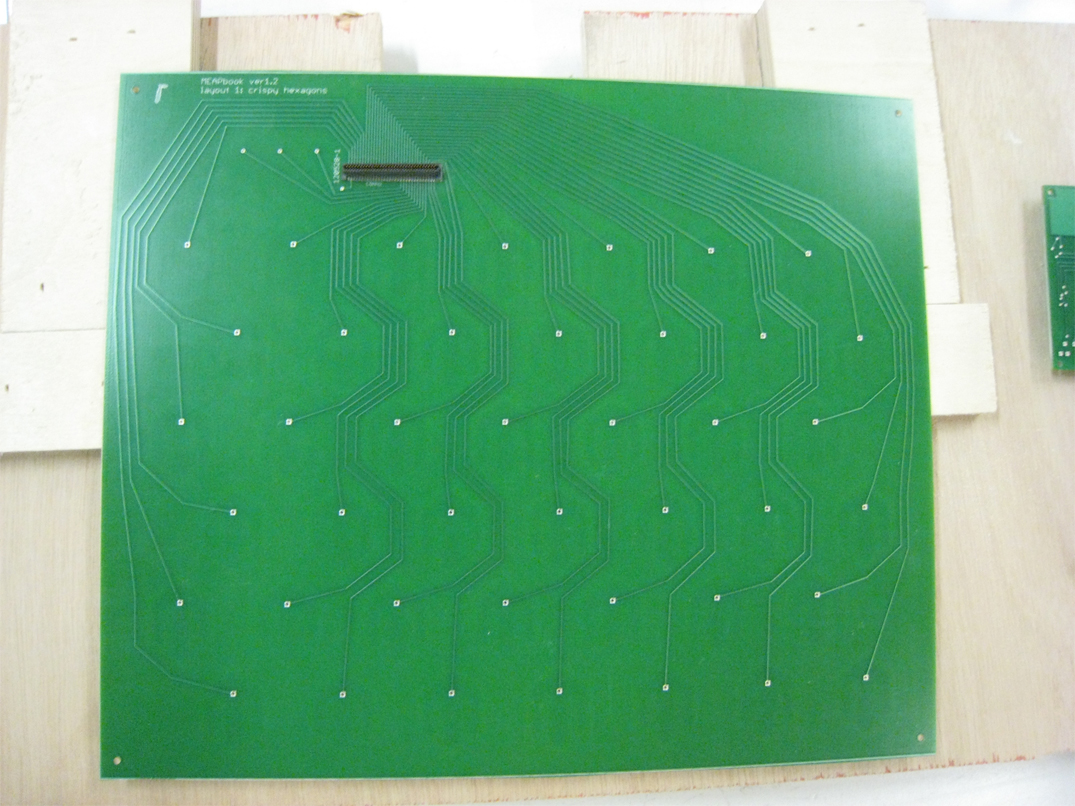
the back of the sensor panel
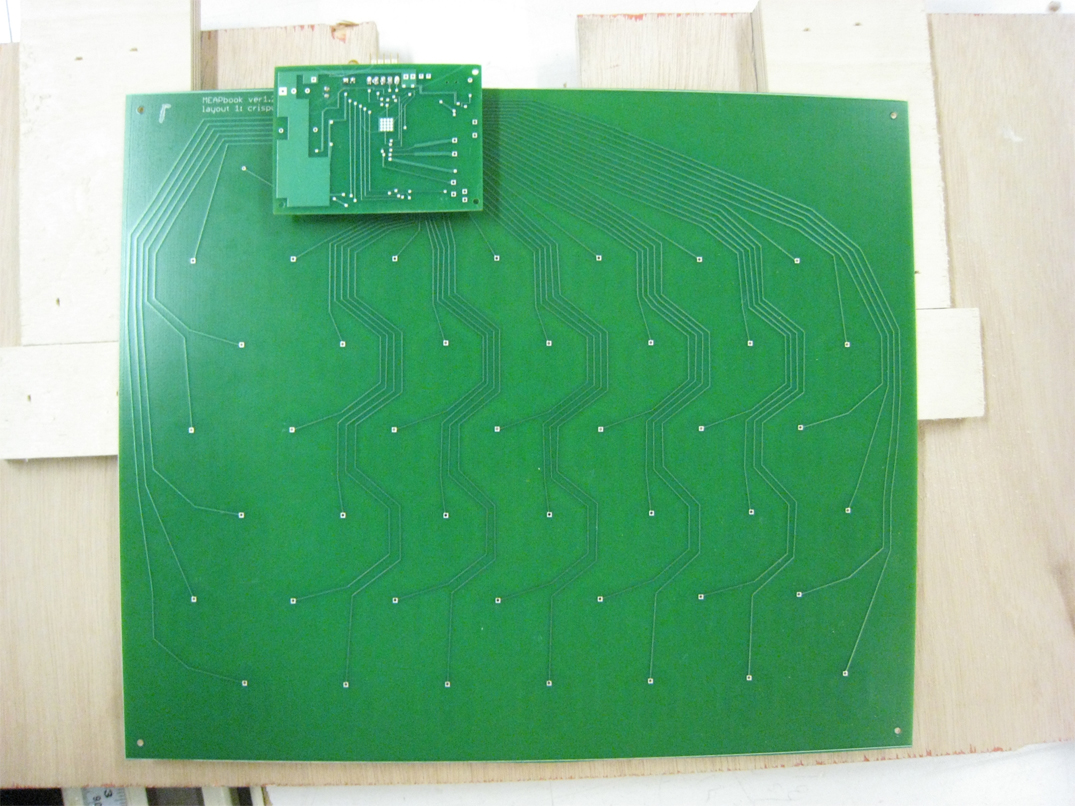
the back of the sensor panel with the control circuit connected to it
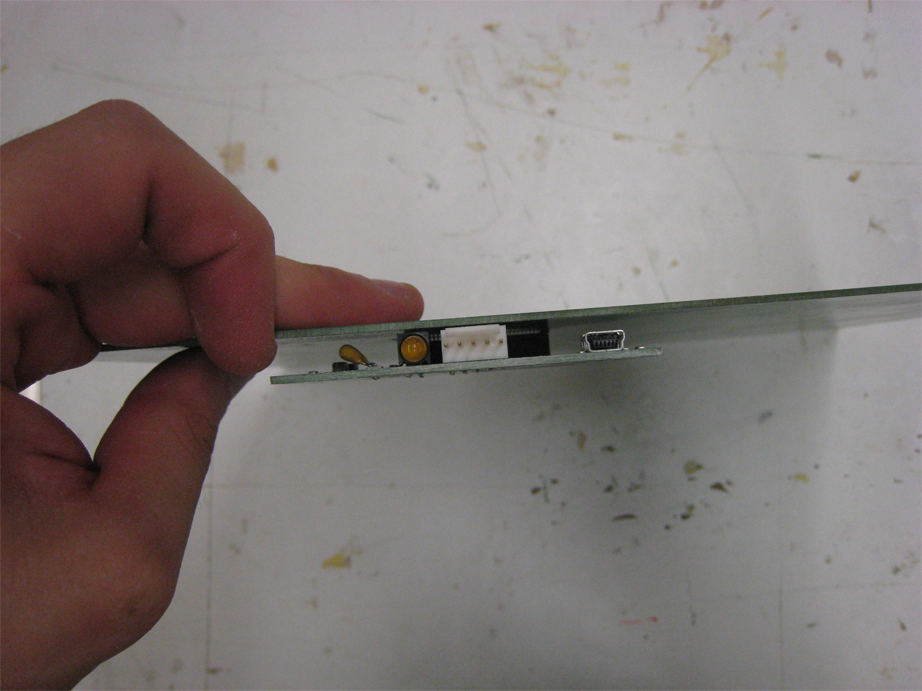
Here you can see how thin the circuitboard assembly is with both sensor panel and control circuit attached.
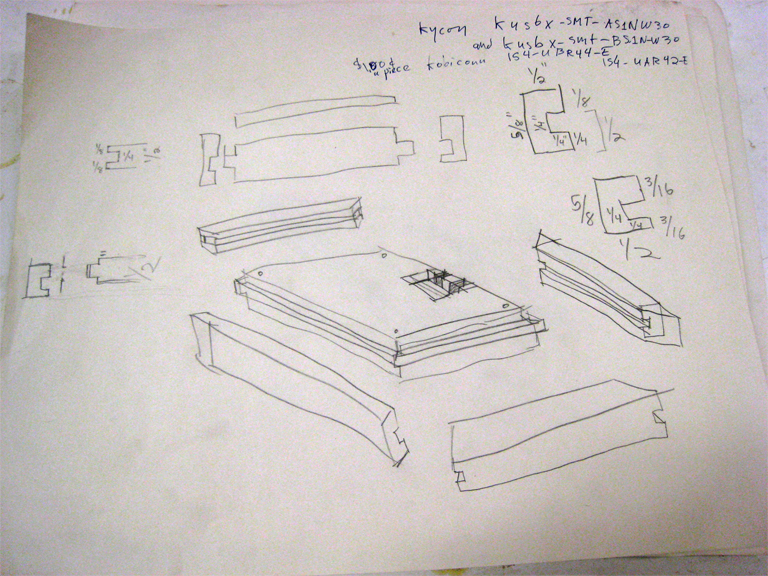
Here are some of my plans for the woodworking.
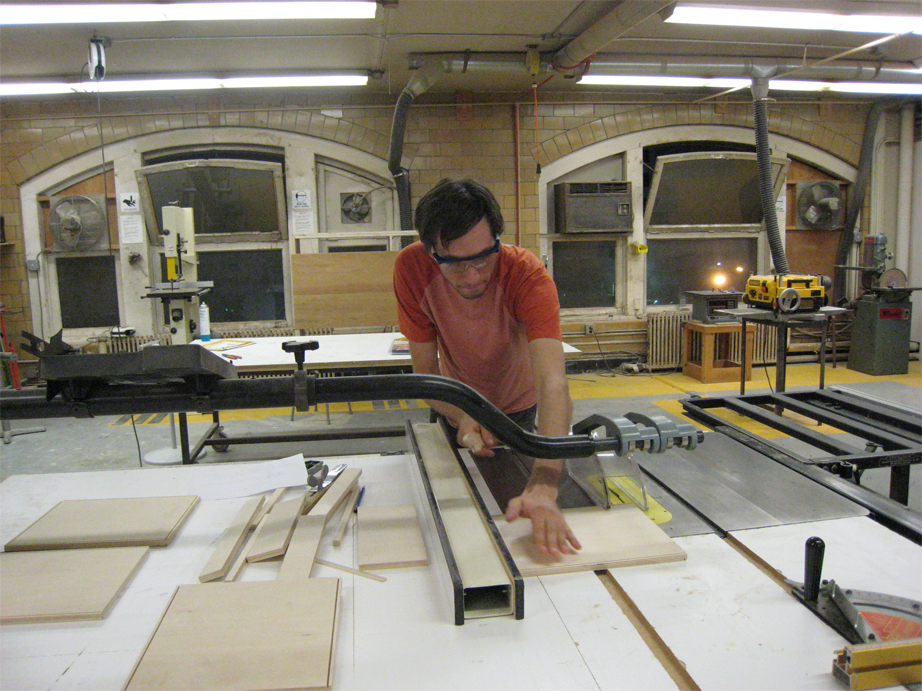
Sawing the plywood for the main MEAPbook body
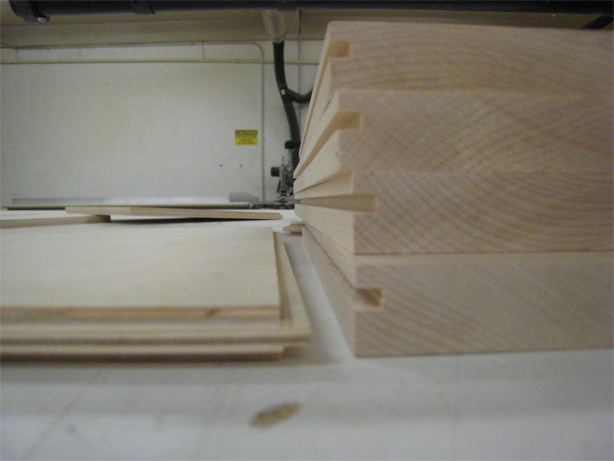
The plywood body and the maple for the edges - notched to fit together.
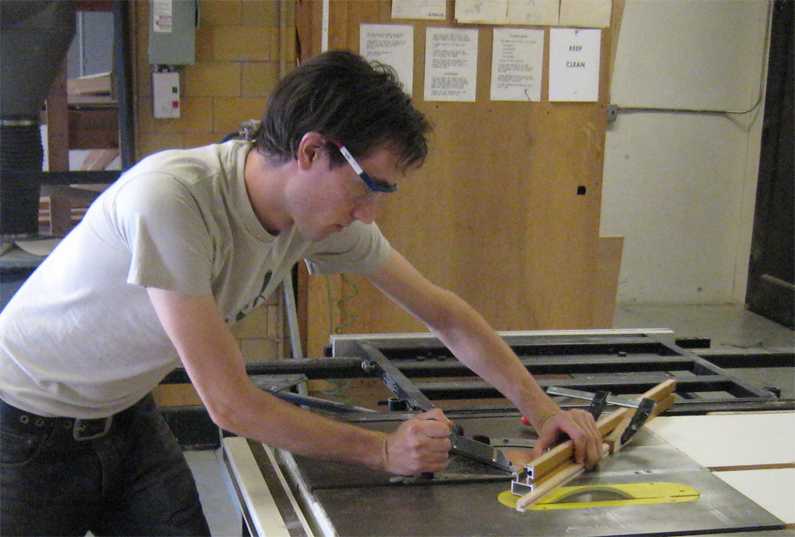
cutting 45 degree angles for the edges
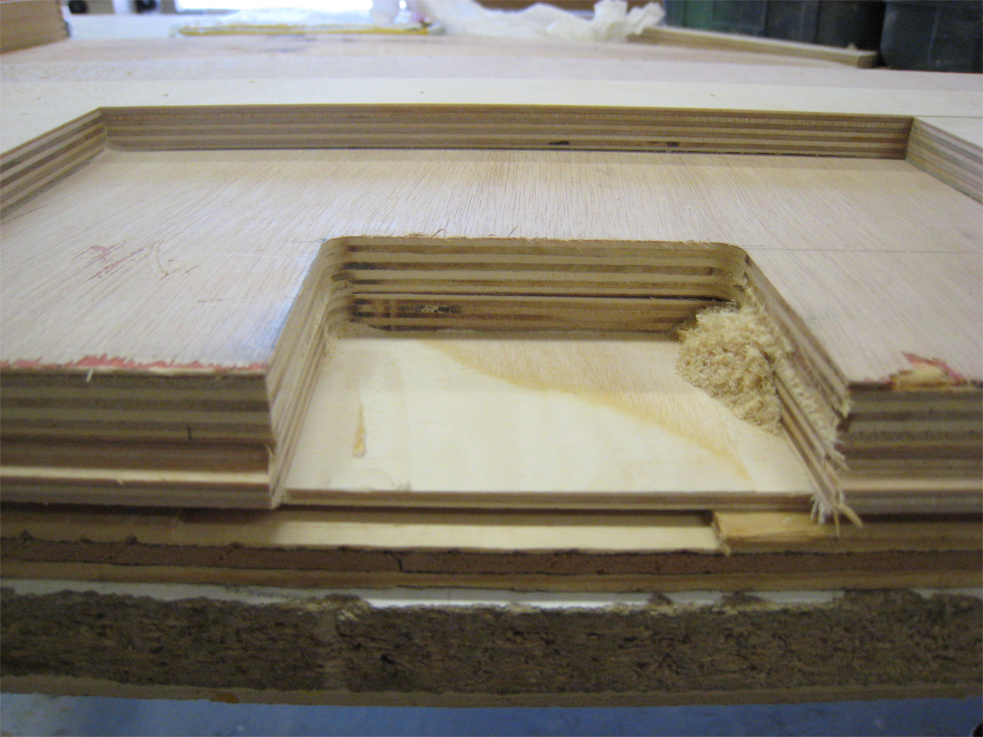
routing out the cavity for the control circuit into the plywood body.
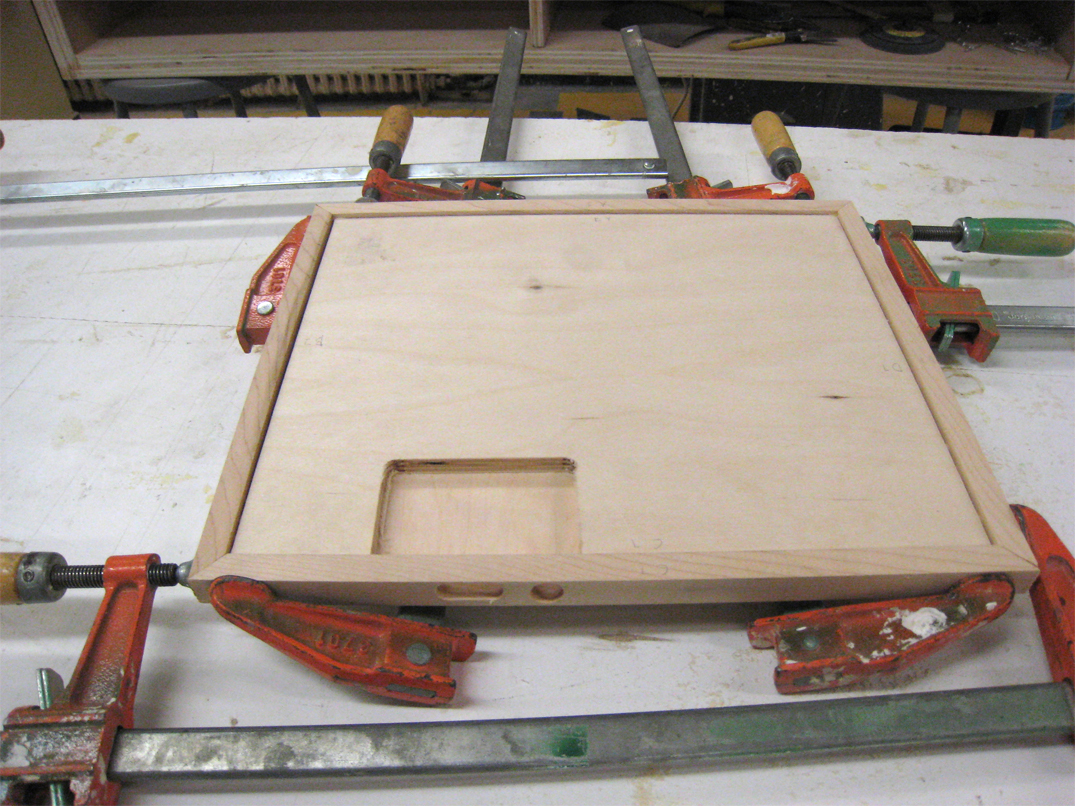
Glueing together the body and edging for one half of the first MEAPbook ver1.2.
Tomorrow I'll be adding the varnish and possibly attaching the hinges and clasps (if it dries enough). Then I'll install the circuitboard, stick on the overlay (1/32" polycarbonate sheet) and it'll be done!
Thanks to my roomate Jason Marshall for some great woodworking advice. :)